 Download
and Install PhotoGenic
Download
and Install PhotoGenicWelcome, and thank you for participating in the PhotoGenic Beta Program. If you haven't already signed up, you may do so here. Hopefully, you've arrived at this page after receiving an email from Catastrophic Software containing your user name and password.
 Download
and Install PhotoGenic
Download
and Install PhotoGenicIf you haven't already, please download the software. The installer is PhotoGenic2Setup, which can be executed. Once installation is completed, PhotoGenic will be accessible via a desktop shortcut icon, and via the Start Menu, under Programs | PhotoGenic.
When you run PhotoGenic, you will be presented with a login screen. Enter the user name and password you were sent via email. From now on, PhotoGenic will remember these values when you start the program, and only the 'OK' button will need to be clicked.
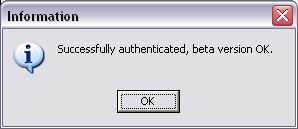
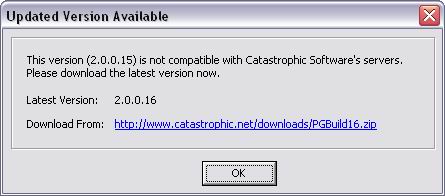
Among other things, PhotoGenic's login checks to make sure that you have enrolled in the Beta Program. To do this, an Internet connection is required, so if you use a dial-up connection, be sure that you are already connected. The login process also checks the version of the software that you are using. If a newer version is available, then you will be notified, and given a link to download the latest version. Click the link to download the update, unzip the downloaded file, run the installer to update the software, and then run PhotoGenic again.
| Successful Login | Unsuccessful
Login - Download latest software and try again |
 |
 |
Under certain circumstances, the 'Updated Version Available' dialog will appear, but you will still be allowed to use the older version of the software for a period of time.
 When
you sign up for the Catastrophic Beta Program, you automatically
receive an account at catastrophic.net or MainDock.ca. Your website is located
at http://<username>.catastrophic.net, or http://www.maindock.ca/users/<username>/photos,
where <username> is substituted with the user name you were given (via email)
when you signed up.
 To
upload your photos, PhotoGenic needs to know where your website is located. When
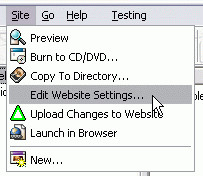
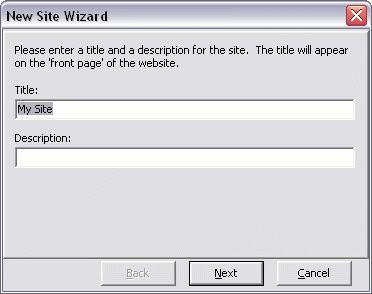
you first run PhotoGenic, the New Site Wizard will appear, and lead you through
the process of setting up a site. The Wizard is later available under the Site
| New... menu item, seen in the image to the above/left.
The Wizard has several steps:
Since Catastrophic Software is interested in finding out just what's intuitive and what's not, we've chosen not to give a detailed tutorial online. If you really get stuck, there's a tuturial in the help file, but make sure you read the Testing Notes first about using the help file.
Having said that, you should know what 4 buttons do, all found together on the button bar.
![]()
Add - Starts the Add Photos Wizard, the start of the process of creating photo albums. Editing your photos is up to you though.
Preview - Allows you to review your efforts, by looking at a copy of the website on your local hard drive.
Upload - Updates the online copy of your website at <username>.catastrophic.net by uploading your photos and captions. The first time you upload your site, some extra supporting files will be uploaded too.
Launch - Allows you to view the end result - the online copy of your website.
Note that both the Preview and Launch buttons are dependent upon what item (Album, Page, Photo, etc) you currently have selected in PhotoGenic. If you have a photo selected, it will jump to that photo. If you have the whole site selected, you will view the very top-most level of the website (the home page).
Good Luck. Questions?